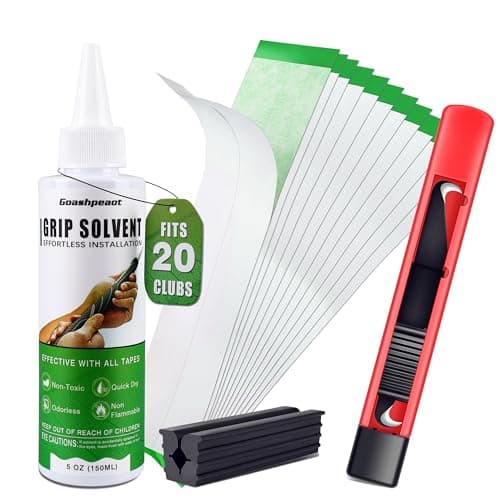
Regripping is the one club-repair job worth doing yourself. It takes about ten minutes a club the first time and closer to five once you have a rhythm, the whole kit costs less than a single premium grip, and the method is short enough to fit on a postcard. The only genuine risks are cutting a shaft with a badly handled blade and playing before the solvent has cured — and both are avoidable if you read the two warnings below.
What you need
Four consumables and tools, plus the grips themselves. If this is your first time, the all-in-one kit above is the cheapest way to get all four at once; if you already own a vise and a blade, buy the tape roll and the solvent on their own and skip the rest.
| Item | What it does | Can you skip it? |
|---|
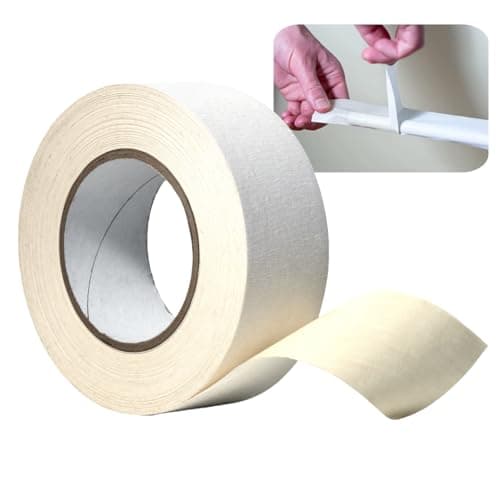
| Double-sided grip tape | The adhesive layer; solvent-activated, so it keys as it dries | No. This is the whole mechanism |
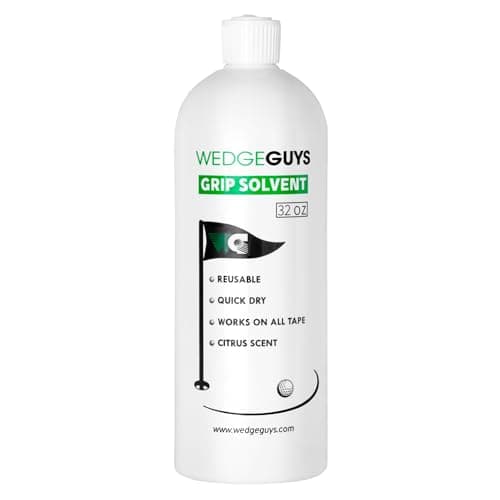
| Grip solvent | Lubricates the grip on, then flashes off so the tape grabs | No — and it is the item people buy too little of |
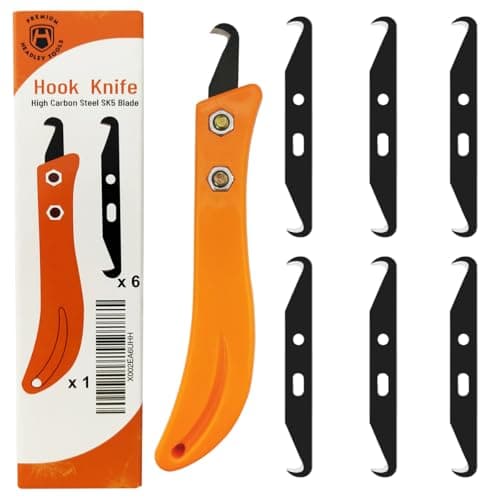
| Hook blade | Cuts the old grip off, pulling away from the shaft | Only if you have compressed air or a grip puller |
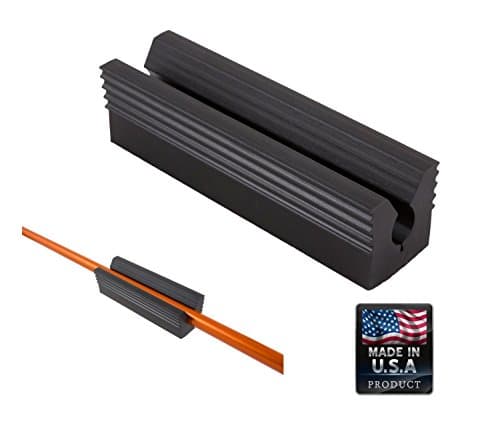
| Rubber vise clamp | Holds the shaft in a bench vise without crushing it | Not on graphite. See the warning below |
| New grips | The actual upgrade | No. Size them first — see the chart |
Buy the grips before the kit, because the size decision is the one that matters and it is easy to get wrong: our golf grip size chart has Golf Pride’s published measurement and the four sizes, and our best golf grips roundup ranks the material families with live prices.
The method, step by step
These are the steps as Golf Pride publishes them in its own grip installation guidance, in order. We have added the practical notes; the sequence and the measurements are theirs.
- Secure the club. Put the rubber vise clamp around the shaft, near the butt end, and clamp that in a bench vise. Tighten enough that the club will not rotate and no further.
- Cut off the old grip. Run the hook blade along the grip away from your body, then peel the grip off and scrape the old tape residue off the shaft.
- Measure and cut the new tape.Golf Pride’s instruction is to unroll the tape, measure it against the new grip, and cut it an inch longer than the grip.
- Apply the tape. Lay it along the shaft leaving an inch of tape off the end, smooth out any bumps, then twist that overhang and push it into the open end of the shaft.
- Wet everything. Cover the hole in the cap end of the grip with a finger, pour solvent inside and swill it around so the interior is well coated. Then pour solvent over the taped shaft until the tape is fullycovered. Under-solventing is the single most common failure — a half-wet grip seizes halfway on.
- Slide it on in one motion. Push the grip onto the shaft in one fluid movement. Do not stop to reposition. If it stops moving, you did not use enough solvent, and the fix is more solvent, not more force.
- Square and settle. Align any logo or alignment feature while the grip still moves, wipe the outside down with a towel so no solvent is left on it, then firmly tap the cap end on the ground to seat the grip fully on the shaft.
- Wait. Golf Pride’s stated cure is around three to four hours before taking the club on the course, with new grips needing at least one to two hours and longer still if you used extra solvent.
Two warnings worth the paragraph
Graphite shafts and blades do not mix well.A hook blade is designed to lift away from the shaft as it cuts, which is why it is the right tool — but bear down on graphite and you can score the surface, and a scored graphite shaft is a weakened one. On graphite, cut lightly, or use compressed air or a grip puller and accept that the old grip is destroyed either way. The same logic applies to the vise: clamping graphite in bare steel jaws can crush it, which is why the rubber clamp is the cheapest insurance on this page.
Solvent means ventilation.This is a garage-with-the-door-open job, not a kitchen-table one. Grip solvent is designed to flash off quickly, which is exactly what makes the fumes worth respecting. Lay down newspaper or a tray as well — the solvent that runs off the shaft has to land somewhere.
DIY or pay a shop? The honest math
The grips cost the same either way, so the only variable is labor. A shop charges a modest per-club fee on top of the grips; doing it yourself replaces that with a one-off kit cost plus an afternoon. The break-even is not really financial, it is about volume: for a single club, a shop is genuinely the better deal once you count the kit you had to buy. For a full thirteen-club set, the kit pays for itself on the first set and every set after that is essentially free labor. That is the whole calculation, and it is why the golfers who regrip at home tend to be the ones who do the whole bag at once.
There is a second, non-financial argument for doing it yourself: you stop putting the job off. The reason most golfers play worn grips is not cost, it is friction — the trip to the shop and the days without clubs. When the kit is on the shelf, the job becomes an evening, and grips get replaced on schedule instead of when they finally get embarrassing. Our how often to regrip guide covers what that schedule should be.
Doing it without a vise
You can, and plenty of people do — but it is a two-person job. One holds the club steady at the head end while the other slides the grip on, because the push needed in step six is firmer than it sounds and a club braced between your knees will move at exactly the wrong moment. If you are regripping regularly, a cheap bench vise is a better purchase than anything else you could add to this kit.